I was asked to make some new bedding for a family's little girl (5) who was graduating from her crib/toddler bed into brand new bunk beds. Her toddler bed had various bedding - a bed skirt, sheet, pillows & blanket.
We talked about what would be best and we decided that a duvet cover instead of a quilt would be most utilized.The aim was to make two matching duvet covers for each bunk.
I carefully took all the old bedding apart, washed it all, ironed and began to assess how much fabric we had. The family wanted a very classic calm design and we decided on plain squares - keeping them 5" in size so the duvets would seem classic but still modern.
I am pleased with the result. They look like something out of a Pottery Barn catalog. The flannel duvet covers are so soft and the weight of the quilted top make them feel very expensive - I'm not sure anyone would guess at first glance that these are a recycled project.
After I had pieced the tops I attached the quilted tops to cream flannel duvet cover top & added stitched detail using some Gutermann Heavy Duty Polyester Thread in straight lines.
I love how this looks - I will have to use this again on another project.
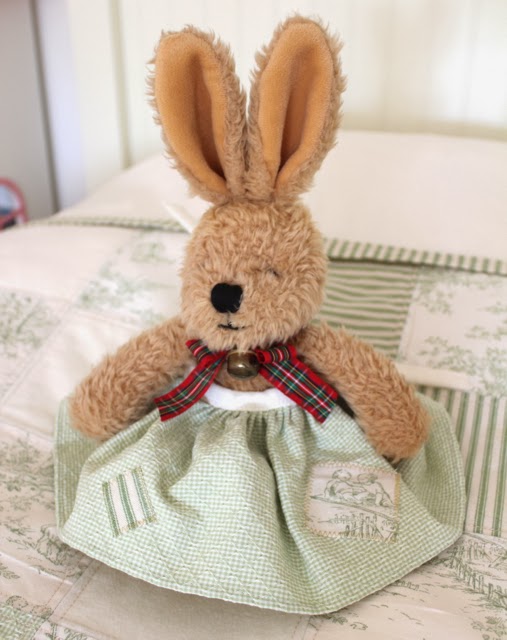
We still had a little bit of fabric left over so I made Teddy a little apron (happily modeled here by Felix the bunny)
.... and Teddy also got the cutest sleeping bag too (I haven't let my girls set eyes on this - I just know they would want thousands for all their stuffed toys!)
Here is the little package all together. Duvet on bed, 2nd duvet cover folded, Teddy's apron & Teddy's sleeping bag.
******
Other Recycled quilted projects:
Union Jack Sweater Quilt
9/11 Memorial Firefighters T-shirt Quilt
Memorial Uniform Quilt
Men's Cotton Shirt Quilt
Showing posts with label toddler. Show all posts
Tuesday, November 5, 2013
Wednesday, March 6, 2013
Tutu Tutorial (Part 4): Using Fabric Scraps - Tutu Ideas
This is less of a 'tutorial' and more of an ideas page of how you can use fabric scraps to make tutu's.
Recycled Shirt Tutu
Using the No Sew Crochet Elastic Tutu method I made this tutu. I had some strips of cotton left over from this fun project in 2008 (yes I keep scraps from that long ago!) - so I decided to make them into a little fabric tutu. I don't know it it reminds me of a little kilt or one of those raggy morris men outfits!
(Men's cotton shirts yield a lot of fabric that can be recycled into all sorts of things - you might remember I recycled lots of shirts into a quilt. We still have it - in fact is it now in our little boys room.)
Silk Tie Tutu
Using the No Sew Crochet Elastic Tutu method I made this tutu. The 1st layer is white tulle and the 2nd layer is re purposed white ties. Because of the size of knot that the ties make the ties are knotted on every other space in the crochet elastic. I used a binding stitch on the end of the tie pieces to try and minimize future fraying.
Labels:
cotton shirt,
easy,
free,
kids crafts,
pattern,
Recycle,
scraps,
sewing,
toddler,
tulle,
tutorial,
tutu
Thursday, November 17, 2011
Homemade Christmas Cards
Draw some shapes on some heavyweight paper.

Carefully paint the shapes.

Carefully cut out the shapes and add some glitter in a delicate fashion.
Stick the shapes onto a folded piece of card.

Grandma will love these!


Subscribe to:
Posts (Atom)