Showing posts with label tissue paper. Show all posts

Thursday, June 5, 2014

Tissue Paper Dyed Silk Pillow

Here we decided to revisit our success as dying silk with tissue paper but this time use the technique to make a pillow. This is a super easy & quick no mess project that you can do on your own or with your little one.


I prepared a fabric pad to put our tissue paper on.  The pad is made up of:
18.5" x 18.5" square of cotton (this will be on the inside of the cushion so it doesn't matter what it looks like
18.5" x 18.5" square of batting (I used a scrap piece of wool batting for this project)
18.5" x 18.5" square of white cotton
18.5" x 18.5" square of silk (I took this from one of our silk scarfs we get from Dharma Trading)

Once the pillow is finished it will fit a 18" insert.

I kept all the layers together by running a zigzag stitch around the outside


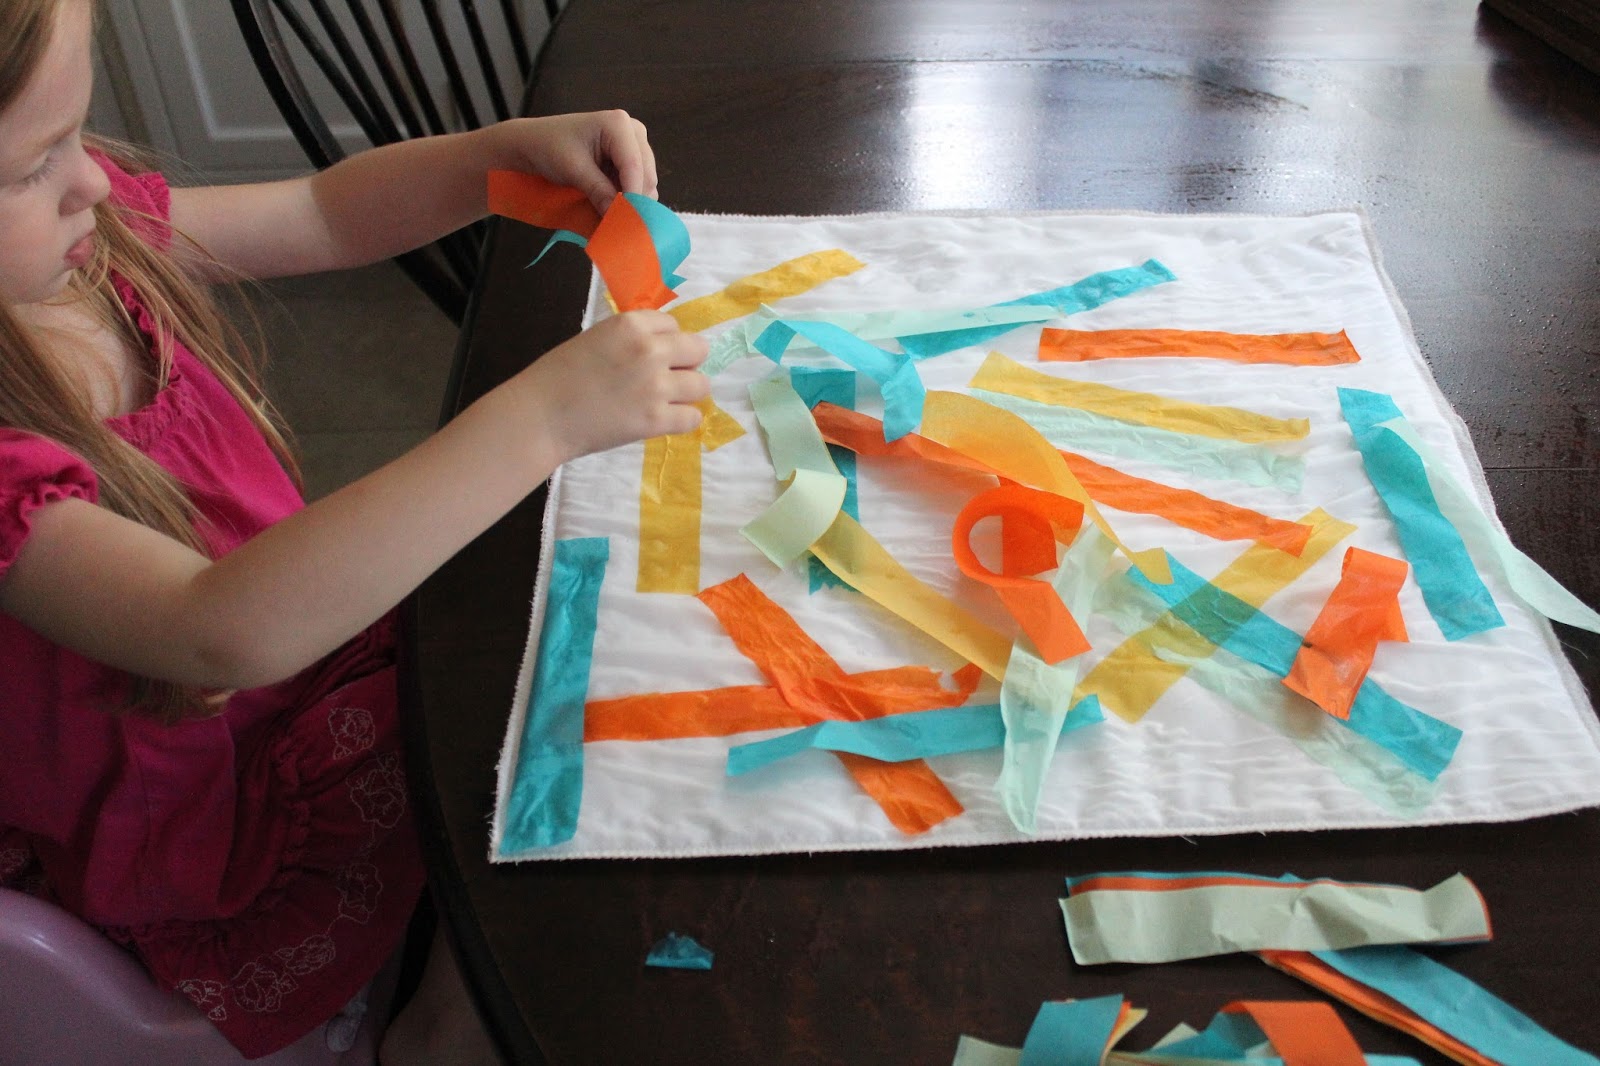
I prepared a spray bottle with 1 part water & 1 part vinegar and cut up some strips of tissue paper.


We sprayed the pad to make it wet.


Bunny #1 laid down strips of tissue paper - any which way.


A little bit more spraying?


Once she had had enough of spraying & laying down the strips we put cling film over the top to stop it drying out & left it for a little while (couple of hours.)


The tissue paper made very vibrant colors on the silk & there was some interesting texture.After I had removed all the tissue paper I put the cushion top through the wash - cold wash and dried in the tumble dryer.


I tend to make pillowcase enclosure pillows as I am terrified of zips and I love a bit of ribbon. We also added some orange piping to the pillow to give it a bit of a zing.

Thursday, May 9, 2013

Easy Silk Scarf Dyeing with Tissue Paper

Mother's Day is coming and we have been thinking about things we could make for Grandma. With our recent success in dyeing play silks I decided to take the success of our tissue paper dyed play silk and decorate a silk scarf for Grandma with tissue paper pieces.


I had one white silk scarf left. A pile of tissue paper (some new, some recycled) and two paper punches. The white one is Martha Stewart butterfly punch and the black one is an EK slim flower paper punch

Once we had punched all our shapes we collected the tissue paper pieces in a bowl we prepared our silk. The silk is soaked in water and a glug of vinegar. I laid the silk out as flat as I could on the floor on top of a large black plastic bag - for photographic purposes I wish I had thought of something a bit more aesthetically pleasing!


We began placing the tissue paper shapes. Flowers in the corner and butterflies all over the rest of the scarf.


It didn't matter if the tissue paper pieces were not put on perfectly the wet scarf helped them stick. 


It was such a kid friendly and easy activity for my 4 year old.

Once all the tissue paper shapes were put on our scarf we left the tissue paper to do its magic. 


After 1.5 hrs I took the wet tissue paper off the scarf, rinsed the scarf on a 20min cold machine cycle and then dried the scarf on our highest setting in the tumble dryer. 

Where two pieces of tissue paper landed together the colors and shapes are cute. 


The scarf is quite pretty. Some of the tissue paper dye did bleed a little - but as there is no strict pattern - I'm hoping it adds charm and movement to our little handmade gift. 


Wishing you all a very happy Mother's Day this weekend.